How to save time during complementary feeding
How to save time during complementary feeding
A mother barely recovers from the holy trinity of breastfeeding-diapering-putting to sleep, and already the puree panic sets in, when the existing fears and worries are joined by the quintet of what, when, how much, from what, and how.
Of course, it is self-evident that introducing solid foods is a serious task that must be started with due care, but there is no need to be afraid or anxious. Do you want to know how to avoid daily kitchen fuss, millions of dirty dishes, and how to ensure time for yourself to spend with your baby instead of kitchen work? Follow my advice and you'll see, introducing solid foods is easier than you think!
The first step in introducing solid foods: procurement
Before the puree era begins, every mother starts feverishly researching. Steamers, silicone storage containers, hand blenders, food storage boxes, bags, spoons, and recipe books quickly make their way into the kitchen. What exactly is needed depends on the mother and her baby. The low-cost solution is a small pot specifically used for making purees, a hand blender, and a few silicone puree storage containers, but if finances allow, a baby food maker is an excellent investment for the joy of both mother and baby.
In addition, it is advisable to look into which food groups, vegetables, and fruits the baby can get to know in the next one or two months. Once we see in a system what ingredients we will need, there is nothing else to do but procure the delicacies from a reliable producer - grandmother, organic farm, or a trustworthy vendor.
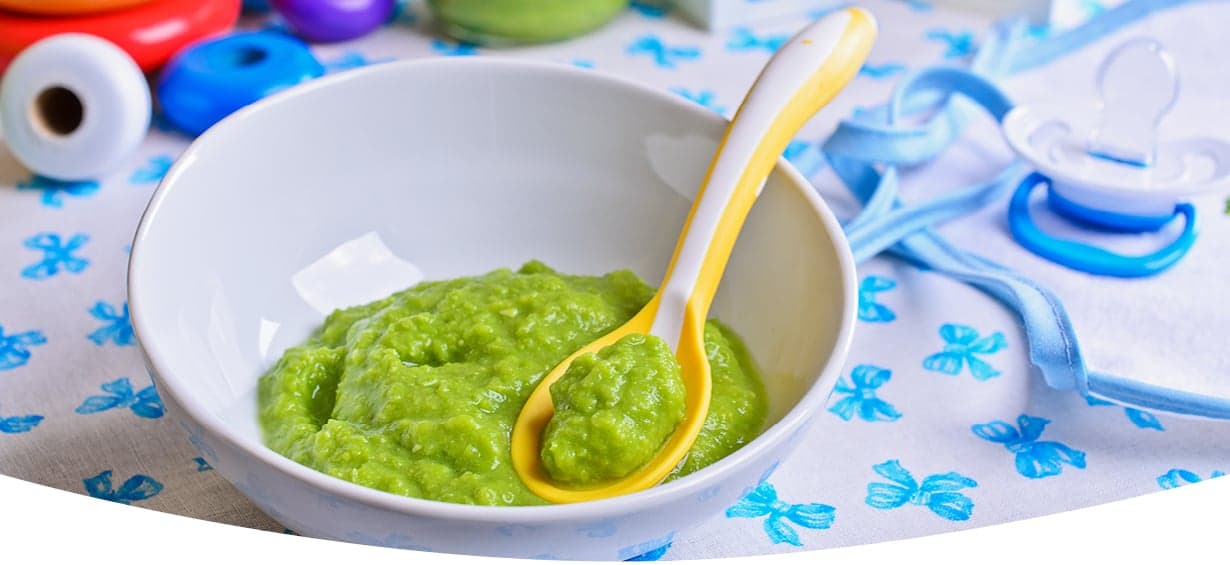
Save time by working ahead!
Since baby purees, when properly frozen and stored, retain their shelf life for two full months, it is advisable to work ahead and save a lot of time during the often chaotic baby-filled weekdays. To do this, all we need to do is steam the cleaned and chopped vegetables in a little water, then once the given ingredient is ready, chop it to the texture appropriate for the baby's current stage of solid food introduction using a hand blender or food processor.
It is important to prepare the different ingredients separately and freeze them separately after the purees have cooled! For this, we can use silicone food storage containers specifically developed for freezing and storing baby food, but in an emergency, a few ice cube trays can also serve well.

Puree Freezing and Thawing Guide for Beginners and Intermediates
First, let the prepared puree cool to room temperature, then portion it into storage containers. After that, let the sealed container rest in the freezer for twenty-four hours, and once the purees have completely solidified, empty the portions into freezer bags.
It's important to know that the prepared portions can be stored in the freezer for up to two months, so it's advisable to prepare an amount that will be consumed within the available time.
When thawing, make sure to transfer only the amount expected to be used to the normal temperature shelf of the fridge. After thawing, the purees can be mixed with each other or enriched with cooked meat, yogurt, or gluten-containing grains according to the current stage of complementary feeding.
Take Care of Yourself During Complementary Feeding!
Don't be discouraged if you don't have the time or inclination to fuss with homemade treats! Remember, happy mom = happy baby… ;) Your baby will be healthy even if you occasionally feed them store-bought purees or baby foods.
You need a little extra care too! It's important to take care of yourself and your own nutrition with the same diligence as you do for your child! Forget about finishing off leftovers, eating meals secretly while standing, or skipping lunches; instead, eat nutritious, exciting, and delicious bites together with your child!
By doing this, you not only take care of yourself but also support your child's healthy relationship with meals, because you know: nothing is as effective a parenting method as the example we set for our children.
